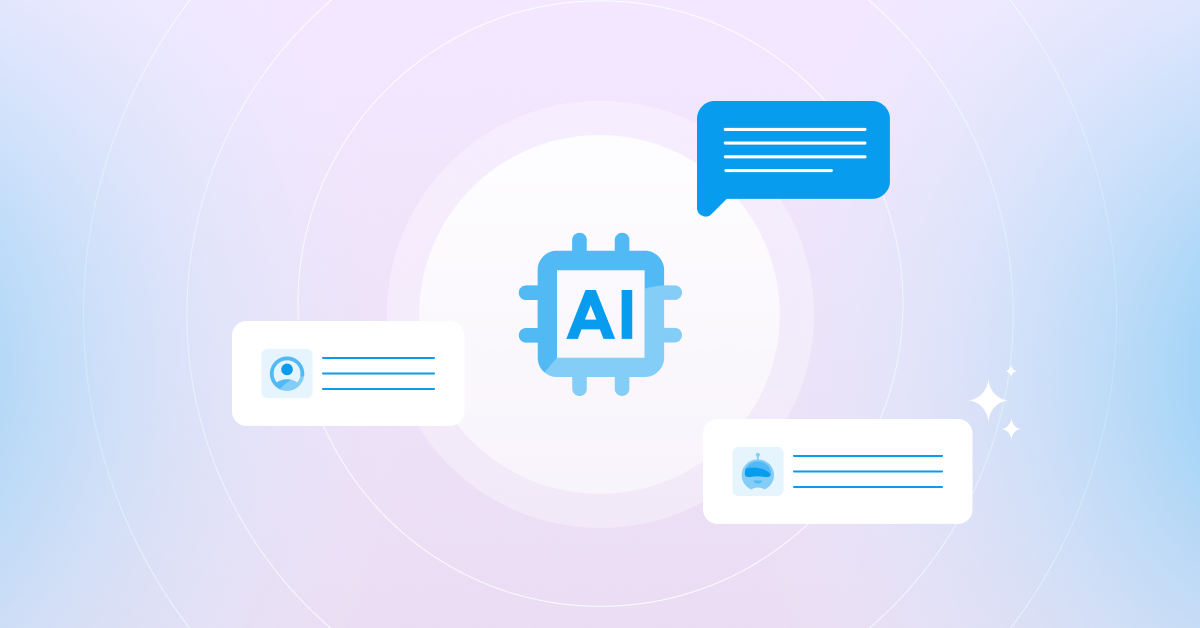
There’s perhaps no hotter topic this decade than artificial intelligence (AI). For contact centers, the pressure is on to add and fine-tune their contact center AI strategies.
The primary obstacle to AI adoption is estimating and demonstrating the value of AI projects (49%), followed closely by talent shortages (42%).[1] Given these challenges, organizations must weigh the potential benefits of AI against the considerable investment required. As businesses navigate this complex landscape, the need for adaptable and efficient solutions is paramount. Implementation can be long, difficult, and costly, and directing resources to AI is a trade-off that prevents enterprises from focusing on other initiatives.
At Bandwidth, we understand these challenges. That’s why we offer flexible solutions tailored to enterprise needs so you can bring your own AI provider for conversational AI integrations or bring your own AI provider into your existing call flows. This dual approach enables you to deploy conversational AI faster, without being locked into a single platform or vendor.
An overview of conversational AI in the contact center
Conversational AI is any technology that you can talk to, including AI chatbot integration. Think of conversational AI as a virtual agent or a chatbot. By understanding, interpreting, and responding to human language via speech recognition, natural language processing (NLP), and text-to-speech/speech-to-text (TTS/STT) capabilities, conversational AI can interpret and respond to conversations.
Unlock freedom of choice with Bring Your Own AI
At Bandwidth, we recognize that enterprises want flexibility and control, and that one size doesn’t fit all. That’s why Bandwidth supports a Bring-Your-Own (BYO) AI approach that’s compatible with SIP trunking, programmable voice, and WebRTC. Whether you want to work with one of the top AI providers in the market or a niche player unique to your industry, you can easily connect it to your Bandwidth telephony stack. This BYO method lets you:
- Seamlessly plug AI into legacy or modern voice infrastructure
- Customize call flows to improve customer experience
- Avoid vendor lock-in while leveraging preferred AI solutions
- Utilize programmable voice and WebRTC to enhance omnichannel customer engagement
Plus our BYO AI approach uses bi-directional media streaming to minimize call flow delays, ensuring fast, low latency communications. Instead of routing audio through multiple layers of translation and processing, Bandwidth can directly send and receive raw audio with the AI provider. This immediate, two-way streaming enables faster processing, quicker responses, and ultimately higher quality interactions between caller and agent. With advanced AI providers, it even unlocks speech-to-speech processing, cutting out the previous need for speech-to-text and text-to-speech conversion.
How Bandwidth conversational AI integration works
For BYO AI users, Bandwidth’s programmable voice APIs and SIP interoperability give you fine-grained control over routing calls, media, and signaling to your AI backend or virtual agent. With WebRTC support, you can deliver voice and video-enabled AI experiences across web and mobile channels, expanding your conversational reach.
What you need to get started
To connect your phone numbers to a conversational AI provider, you typically need:
- A conversational AI provider
- A telephony platform for voice interactions (e.g. Bandwidth)
- Optional cloud services for TTS/STT (Google Cloud Platform is a popular choice, but optional depending on your AI provider)
How to add conversational AI to your contact center
Bring Your Own AI with SIP integration
If you already have a conversational AI provider and want to connect it directly to Bandwidth, SIP integrations give you a straightforward, standards-based way of doing so. Bandwidth’s Advanced Call Routing (ACR) can be configured to send inbound calls directly to your AI platform.
Steps to integrate with SIP:
- Get SIP connection details from your AI provider: Most conversational AI platforms provide one or more SIP endpoints (IPs or FQDNs) where they expect to receive calls.
- Route phone numbers: Use Bandwidth’s Advanced Call Routing to direct inbound calls to the AI platform’s SIP endpoints.
- Answer and handle calls within your AI platform: Your AI platform will handle the inbound SIP INVITE, establish media, and run the customer interaction using the conversational flows you’ve defined.
- Escalate to a human agent when needed: If the customer needs to speak to a live agent, your AI platform can send a SIP REFER to Bandwidth to transfer the call to your CCaaS platform. You can also pass along contextual data, such as the chat transcript or identified issues, using the User-to-User (UUI) SIP header.
This approach is relatively simple to set up if your AI provider supports SIP. It’s ideal if you want interoperability with existing contact center call flows, while retaining the flexibility to choose and configure your own AI vendor.
Bring Your Own AI with Programmable Voice
For organizations needing real-time AI interactions and deep customization, Bandwidth’s Programmable Voice APIs with Media Streaming provide the most control. Instead of just connecting SIP endpoints, this model streams the full call audio to your application, which can then pass it to any AI engine you choose—even multiple engines simultaneously.
Steps to integrate with programmable voice:
- Build or host a voice software application: This application acts as a bridge between Bandwidth and your AI provider. It receives webhooks from Bandwidth for inbound calls, answers them, and manages audio streaming.
- Leverage Bandwidth’s Voice APIs: Use the APIs to answer inbound calls and establish bi-directional media streams. Bandwidth sends audio packets in real time, and your application can feed this audio to your AI engine for transcription, intent recognition, or real-time processing.
- Return AI responses as audio: Use text-to-speech (TTS) or prerecorded prompts to stream AI responses back to the caller with minimal latency.
- Incorporate advanced features: Media streaming supports powerful use cases such as barge-in detection, real-time translation, and sentiment analysis, among others.
- Escalate to a human agent when needed: If the call needs to be transferred, your app can trigger Bandwidth’s Transfer API to route the call into your CCaaS platform. You can include contextual data (via UUI headers) to provide agents with background information.
- Layer on additional functionality: Because your app controls the audio, you can also add transcription, recording, analytics, and other custom features to enhance the interaction.
This model provides unmatched flexibility and supports cutting-edge use cases. While it requires more engineering effort, it unlocks rich, low-latency AI experiences tailored to your business needs.
Get started with conversational AI integrations
Want to work out which approach works best for you?
Discuss with our AI experts about how to best integrate conversational AI into your contact center — and start delivering delightful customer experiences powered by AI at scale.
[1] – Gartner Press Release, Gartner Survey Finds Generative AI Is Now the Most Frequently Deployed AI Solution in Organizations