Blog
AI
Contact Center
Voice
Blog
Explore insights, trends, and expert takes on the future of cloud communications, messaging, voice, and emergency calling from the team at Bandwidth.

Blog
AI
Contact Center
Voice
Conversational AI in Finance

Blog
AI
Contact Center
The Agentic Pivot: Redefining enterprise communications in the era of orchestration

Blog
Security
Voice
How Bandwidth combats illegal robocalls, scam calls, toll fraud, and spam


Blog
Contact Center
Emergency
Messaging
Phone Numbers
Toll-Free
Unified Communications
Voice
VoIP Origination
Bandwidth named in GetVoIP’s Best CPaaS Providers in 2026

Blog
Contact Center
Unified Communications
Voice
Five trends driving enterprises in 2026: Our takeaways from Enterprise Connect this year

Blog
AI
Contact Center
Voice
Conversational AI in Ecommerce: How it’s transforming customer engagement


Blog
Messaging
Best SMS for small businesses

Blog
AI
Contact Center
Security
2026 Insight: EMEA trends in AI, carriers, and compliance
Blog
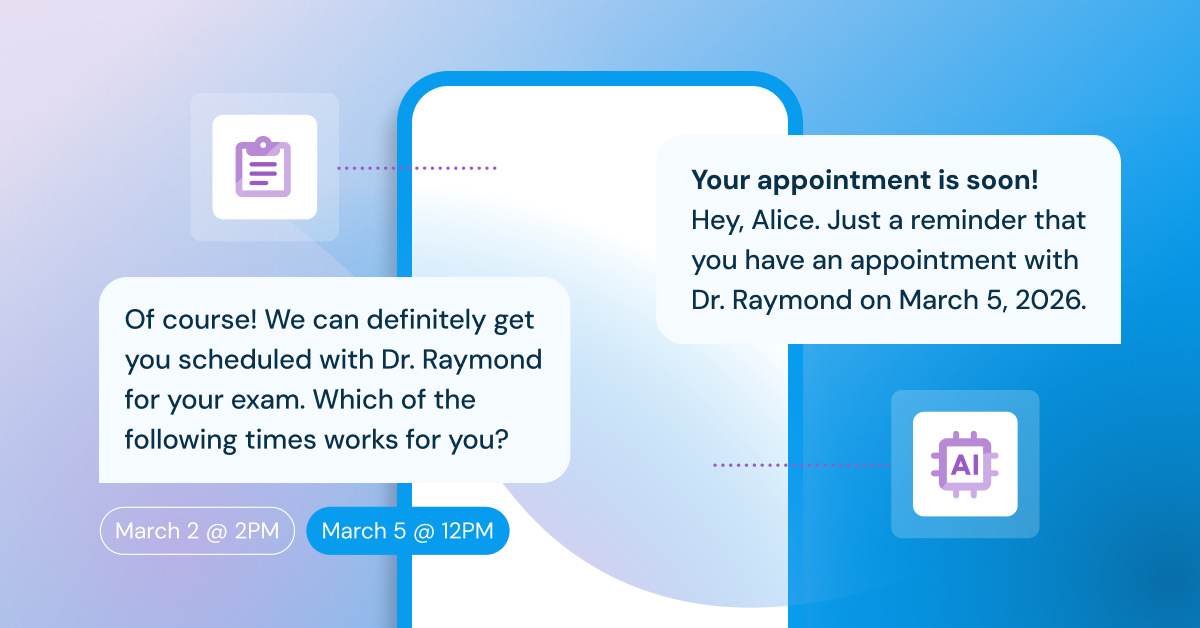
AI
Conversational AI in healthcare